Over the past few weeks, I’ve grown accustomed to bullet journaling. My bullet journal practice has developed, which you can see in the following spreads.
This post is an update to a previous post on bullet journaling. If you’re a bullet journaling beginner, gain some inspiration from my spreads.
The core idea behind most of these spreads is having goals listed on the left and daily tasks on the right. It’s a nice way to look at how each day’s tasks contribute towards weekly goals.
If you don’t want to read an explanation for each week, you can watch my YouTube video on the topic here.
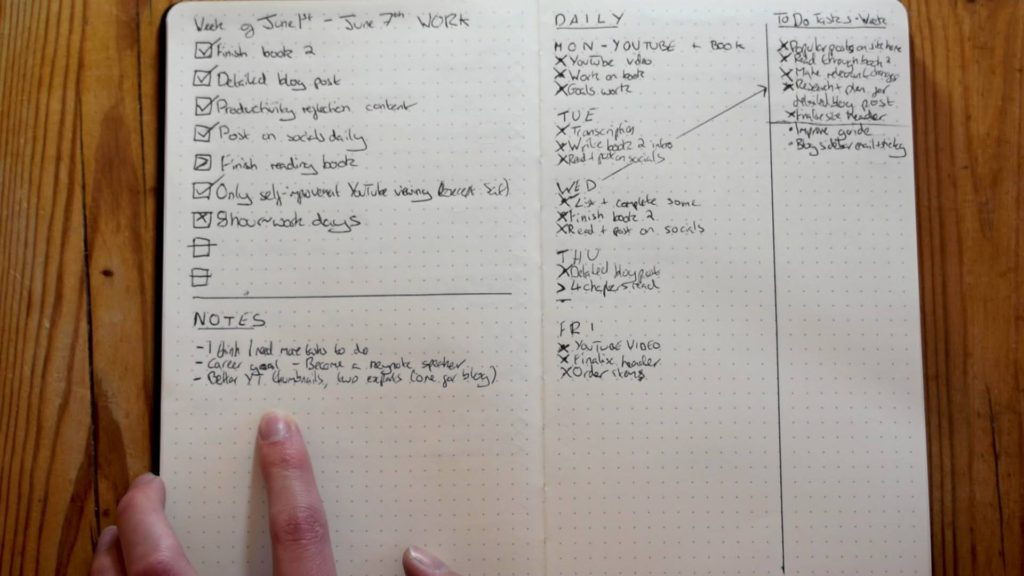
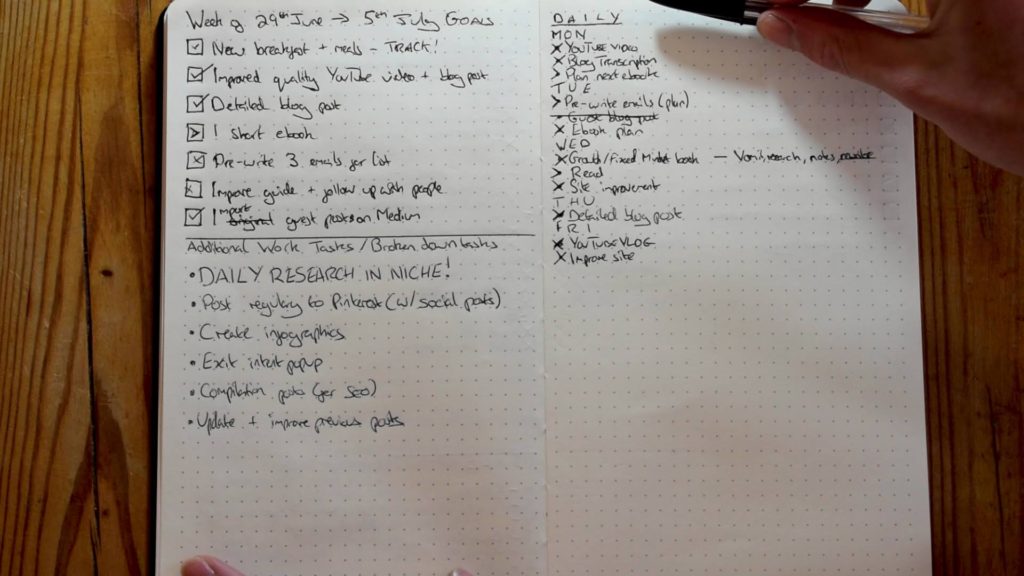
Week 1

This first week was mostly about experimenting with design ideas. It was useful as an introduction to bullet journaling.
The design above consists of weekly goals on the left and daily tasks on the right. Both are important. Weekly goals provide a sense of direction and help you stay on track. Daily tasks are broken down into three Most Important Tasks. These are tasks that must be completed to mark the day as a win.
Daily tasks follow the bullet journal method.
Underneath my weekly goals is a rough focus for each day. The letter for each day can act as a habit tracker.
Two elements from this design, the goals and the daily tasks, are repeated in following spreads.
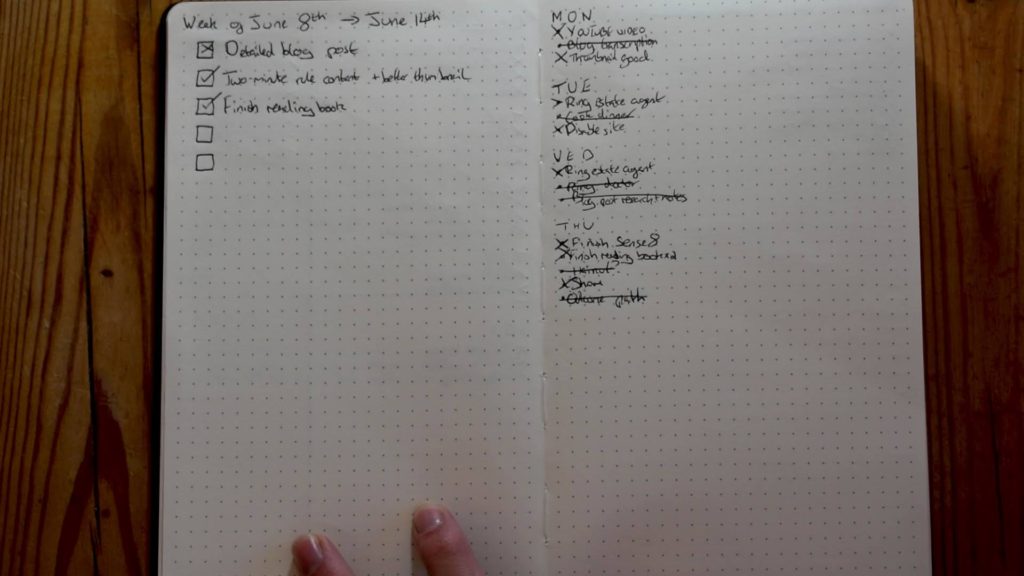
Week 2

The bottom half of the left page, in this design, changed. The rough layout for each day is now horizontal, not vertical.
I preferred this design to the previous week’s, as it looks a bit nicer.
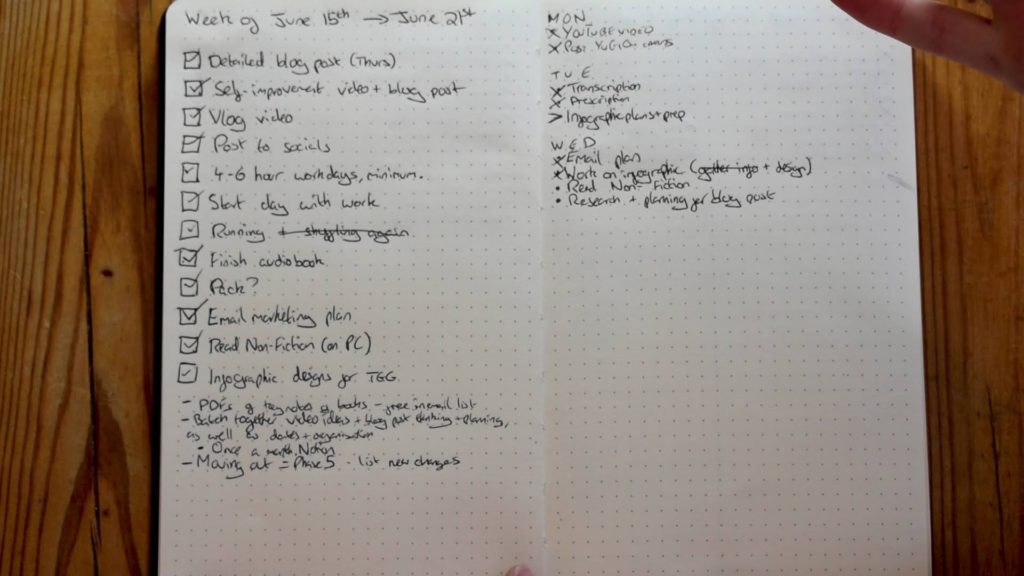
Week 3
Things started to improve this week. I replaced the daily focus area with notes. Having a space for notes seemed to work really well. I liked being able to write down my thoughts in a dedicated space.
On the right, you can see another column. This was for general weekly tasks – tasks that I thought of as the week progressed. These had no specific day to be completed, rather to be finished whenever I had time available.
Week 4
This wasn’t the most productive week. The empty pages and crossed out tasks are representative of what I achieved that week… not much at all.
Instead, I began to bounce back by creating the following spread.

These lists were a nice way to keep track of lots of tasks. Specifically, this was for moving out. Although the process of writing these lists was useful, I didn’t practically use them.
Week 5
After the previous unproductive week, I decided to work extra hard on week 5. I set lots of goals, which gave me motivation to achieve them. I felt like I had to make up for the previous week’s lack of work, so I did.
Additionally this week I created two other spreads, relevant to now having moved out.

These spreads are for personal use. The design is extremely minimalist – lines and text.
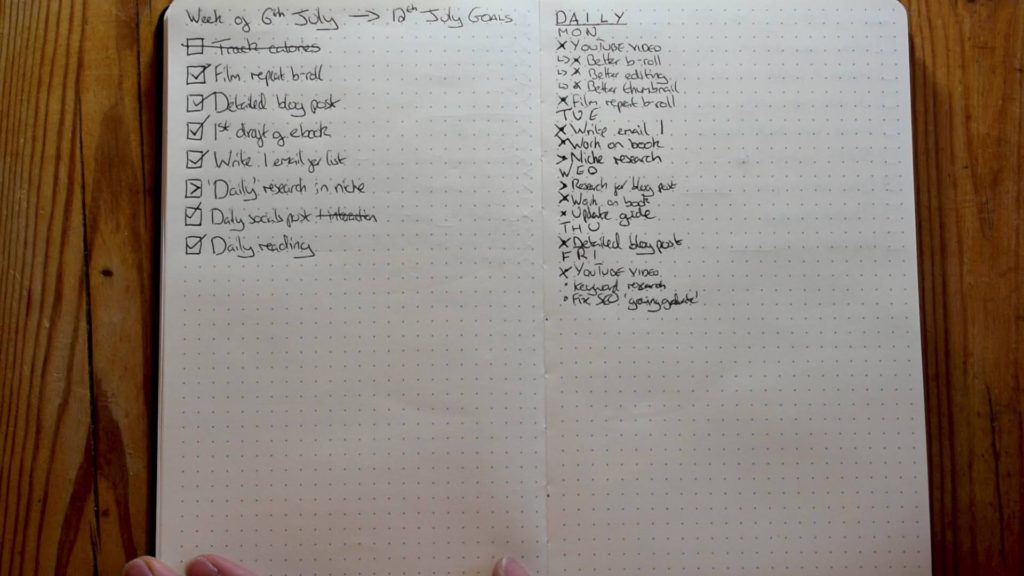
Week 6
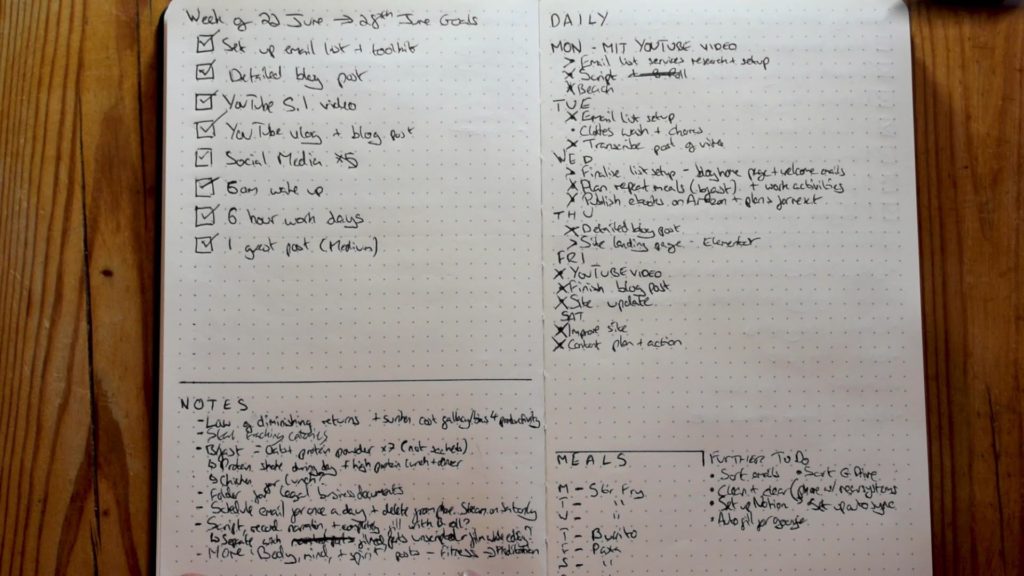
This was a great week. The layout seems a little nicer and includes a notes section and meal planning section.
My spread for week 6 was before I started a different notebook for rough notes and thoughts. This would go on to replace the notes section.
The meals section was a good idea, however I didn’t really make use of it. I was eating the same meals pretty much every day, since I was meal prepping.
Week 7
This week I was trying out replacing the previous notes section with an additional tasks section. It seemed to work well enough.
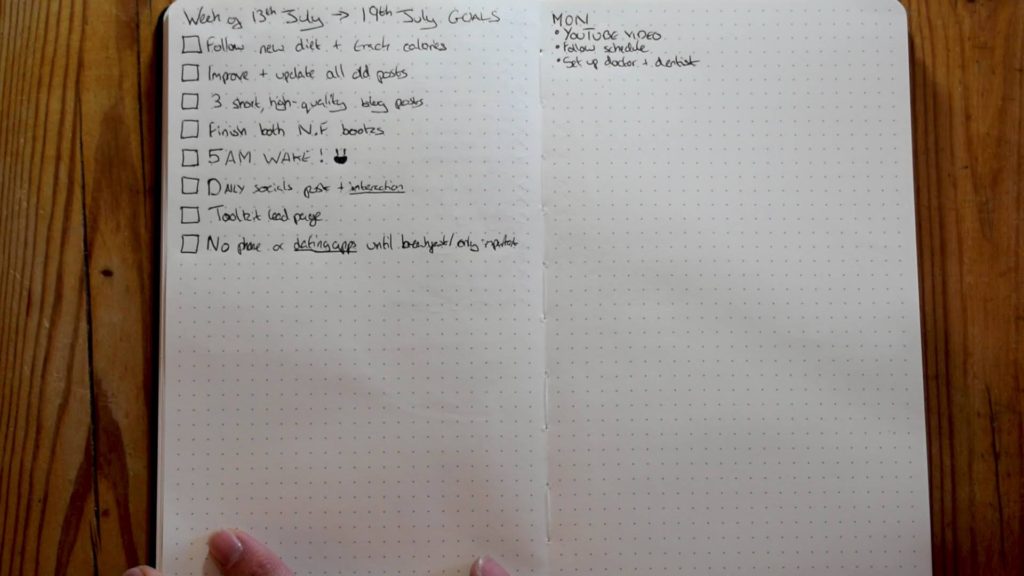
Week 8
A very simple layout for a decently productive week. The space on the bottom half of each page is yet to be filled. No longer needing a space for notes, I think I’ll try a section for additional tasks on the right and record events or observations on the right.
Week 9
And finally, we have week 9, the current week.
In the following weeks, I’ll experiment further with spread designs and update accordingly.
Wrapping Up
The weekly goals are the thing that I’m benefiting from the most. The goals act as a form of direction and motivation, allowing me to see what progress I am making each week.
Of my layouts, I’d recommend week 6 for beginners. It contains most of the information you’ll need – for productivity and organisation – on a weekly basis. All of my spreads take less than 5 minutes to prepare, so please don’t feel discouraged.
If you’d like to start a new bullet journal, this is the journal that I use. It’s very affordable and a nice size.
Thanks for reading, I hope my spreads could inspire you!
If you enjoyed this post or found it useful, share the site with your friends. We have loads of other useful posts if you want to learn more, so have a browse. Cheers!
I love your blog.. very nice colors & theme. Did you create this website yourself or did you hire someone to
do it for you? Plz respond as I’m looking to design my own blog and would like to know where u got this from.
thank you
I used ‘Genesis – Business Pro’ as a base. From there I did lots of customisation and changes myself. A LOT of CSS has been used to make the site look the way it does. The colours are part of a colour palette I bought from a freelancer.
I’ve used my personal media and design knowledge from my Media degree to make it look good 🙂
Would be happy to give feedback on your site, if you like!